

Hello Crafters!
Today I am sharing my Granny Square Crochet Tank Top Tutorial with you!
When I started crocheting I was happily satisfied with making granny squares. I mean they are easy, beautiful, and they work up quickly! But once I had made blankets for each one of my friends and family I wasn’t quite sure what to do next.
That’s when I had the bright idea to start making clothes! How hard can it be? I figured I knew the basic stitches so I shouldn’t have a problem. After a few attempts I got really discouraged 🙁 Clothes were more of a challenge than I thought and most of my attempts came out all disfigured! Thank goodness crochet is easy to unravel (physically, not emotionally).
That’s when I decided to just take one half step up and make a tank top while still carrying on my obsession with granny squares! So here it is; the in-depth tutorial of how to make your own tank top just in time for summer!
Here’s a list of everything you will need for this crochet tank top tutorial:
- 10 x Simple Solid Granny Squares
- 6 x Simple Solid Granny Triangles
- Two cord tank top straps (scroll down for that tutorial!)
- Leftover yarn from your squares for edging and seams
- And if you want to get super stylish you can find some beads to embellish!
HOW TO SIZE YOUR GRANNY SQUARES / TRIANGLES
To ensure that your tank top is actually going to fit you need to take a bust measurement and divide it by four to get the diagonal measurement of each square. This is because you have four granny squares forming the top of the tank top.
For example if bust measurement is 80cm then each granny square will need to measure 20cm from corner to corner.
**Don’t forget** when you block your squares (which you definitely should be doing!) your squares will increase slightly in size. So if you are a few mm off and you aren’t sure if you should do another round to make it the right size I would just leave it as it is.
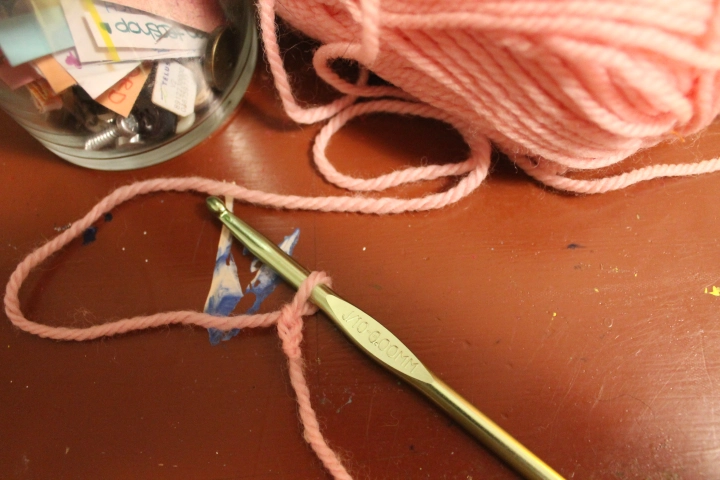
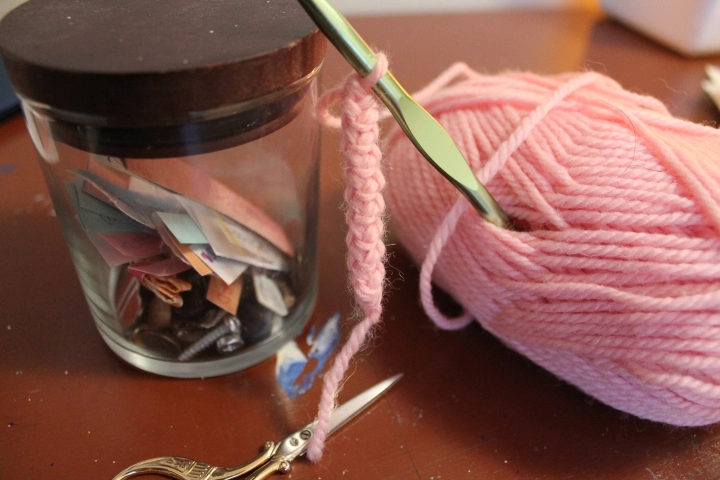
HOW TO MAKE CROCHET CORD STRAPS
You can use any stitch or pattern to make your straps; I chose to make a cord because I didn’t want my straps to be too bulky but I wanted them to be strong.
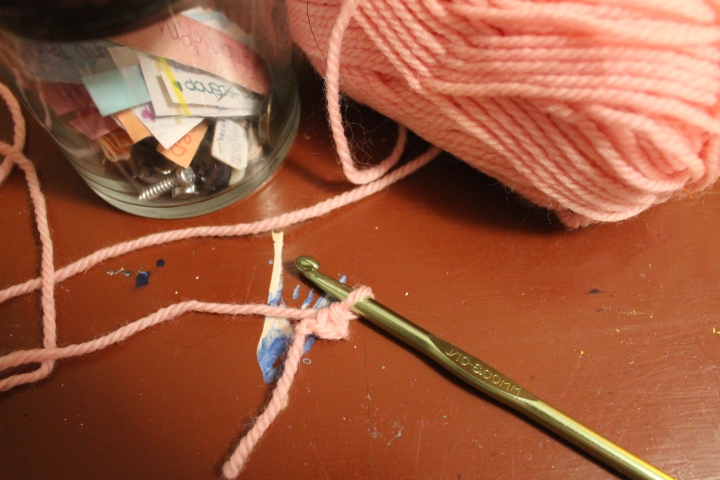
Turn the cord over so you can single crochet into the bar that goes across the arrow. I know that sounds super confusing but if you look at the picture it will make more sense:
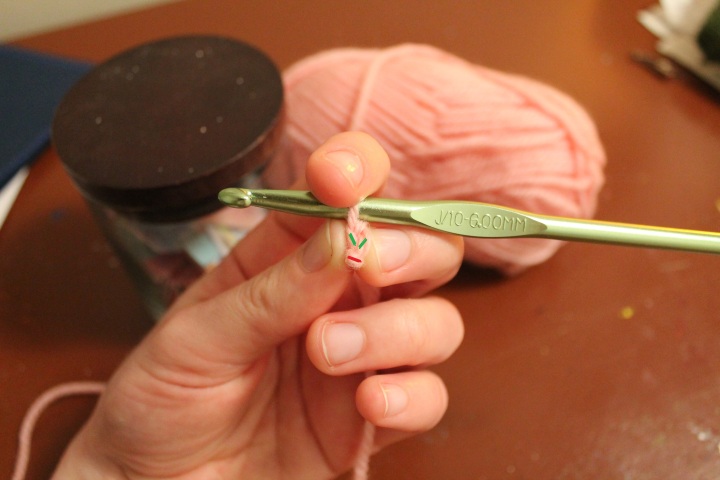
Turn cord over again and this time you will see 2 bars at the bottom of the arrow:
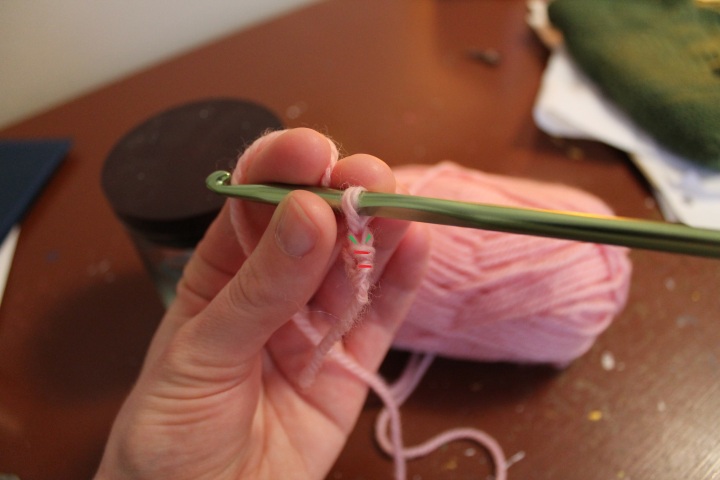
Continue this step until you have a strap that is the desired length! Finish with a slip stitch into the last two bars.
ASSEMBLING THE TANK TOP
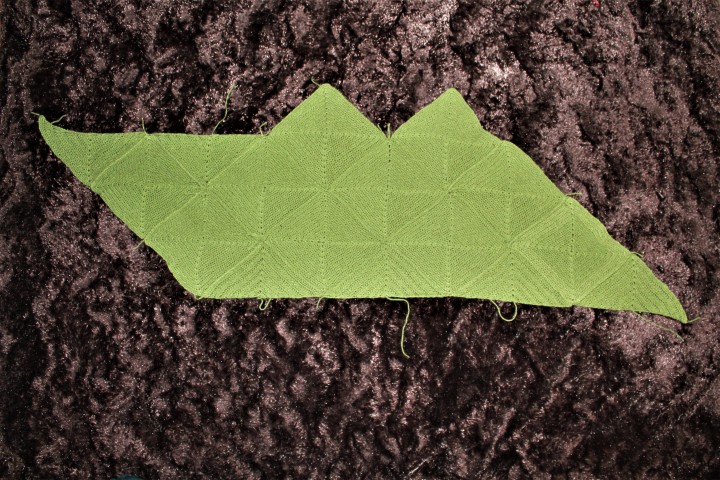
Once you have completed all your squares and triangles you will need to lay them out like this:
Connect all the seams as per the diagram. I simply used single crochet to connect the outside loops of the squares, although slip stitch would work just as well. Make sure you have the backs of the squares facing out when you connect them so that the seams are on the inside of your tank top.
Once you have connected all the seams you should have something that looks like this:
Once you have closed up the last seam, the next step is to put a single crochet border around your edges. This step isn’t mandatory but I kind of want to say it is! It really improves the appearance of your finished top. Also, if you plan to add any sort of decorative edging it will be a heck of a lot easier to work it into a nice neat line of single crochet instead of your raggedy granny square edges.
Now that your edges are nice and neat you can go ahead and attach your straps.
I used some slip stitches to just fasten the straps on either end. I would suggest putting your tank top on and pinning the straps at the exact position that you want them. This way you can avoid having to redo this step when you realize you have put them on crooked!
Now that your tank top looks like a tank top you might be feeling super awesome about your skills. But wait! You still have to put the finishing touch on your work…
THE EDGING
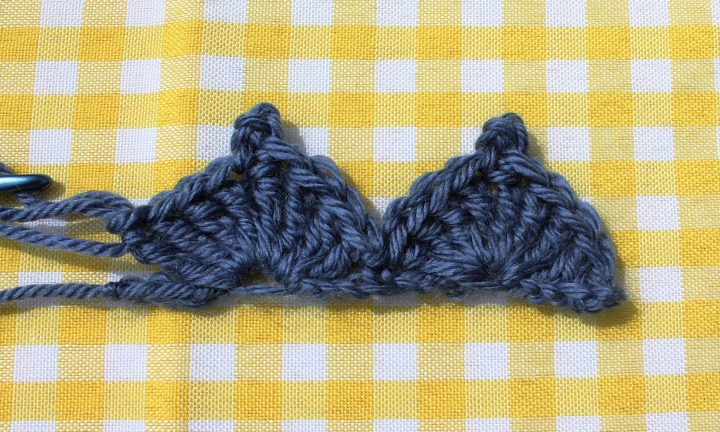
At this point in the project you are going to put an edging along the bottom of the tank top. I chose the cathedral edging because it is easy but it looks fancy 🙂 Of course you can use any edging pattern that you like.
Don’t be alarmed!! I did the edging tutorial photos with a different yarn just so it would be easier to see what I was doing because the yarn for my tank top is very thin. The edging for your tank top is exactly the same, just work it into the row of single crochet along the bottom of your tank top instead of the row of chains that you will see in these photos!
 Start with a chain 1. SC into next stitch
 Skip 2 stitches and work 4TC into next space
 Chain 3. SC into the top of the last TC to form picot. (Red dot indicates the space where you should insert your hook for the single crochet) This step creates the picot aka the pretty round stitch on the point of the triangle.
 Work 4TC into same space as the other 4TC.
Skip 2 stitches, SC into next stitch, skip 2 more stitches and repeat this pattern until the end.
Just to summarize; this is the pattern that you will repeat:
*4TC, ch3, SC into top of last TC to form picot, 4TC* skip 2 stitches, SC in next stitch, skip 2 more stitches.
This is the Part Where You BLOCK Your Work
I made blocking a section so you don’t skip it! Please block your tank top, you will thank yourself when it dries and your tank top is perfectly squared!
Here is a little visual of how I pinned mine.
 (I pinned the tip of each point in the edging so that they all hang at the same height without curling)
And that’s it, you’ve made a garment that you can actually wear! Woohoo!

I would love to hear your comments below sharing how you personalized your crochet tank top.
Happy crafting!

This is such a wonderful design. I had been searching for something exactly like this!! Thank you for sharing your idea!! Hugs!
Thank you so much Shivani 😀 Your comment made my day!
I am definately going to try making this top. So pretty! Your pictures are so helpful, you did a great job explaining as well. Thank you so much for sharing your design :]
Wow such kind words! Thank you Danelle 🙂 Enjoy!
What size hook should I use for the granny squares?
Hi Debra!
Sorry I didn’t realize that there was no hook size in this tutorial! I believe I used a 4.25 mm hook for this project.
Mataya
Hi Debra–this is such a cute tank. I am a new crocheter but I think I can do this. I was wondering what kind of yarn you used and how you managed to have no spaces in your squares. I have been practicing the granny squares per your directions but they all seem to have big spaces. I am using CARON ONE POUND YARN, worsted weight. Any advice you can offer would be greatly appreciated.
Hi Amy 🙂
You can definitely make this even if you are a beginner! I used Loops and Threads “Woolike” yarn which is a superfine weight (1). Worsted weight yarn is quite a bit thicker which could lead to bigger spaces as you are using a bigger hook. I would recommend trying to use a smaller hook size to close up the gaps in your squares. I hope this helps!
Mataya
thanks so much. I will try that.